[참고: 이 기능은 레퍼드 전용입니다. 타이거를 쓰시는 분이시라면 애플스크립트 소스를 조금 수정해야 합니다. 맨 아래쪽을 참조하세요...]
텍스트메이트(TextMate)는 맥 전용으로 나오는 텍스트 편집기로, Ruby on Rails의 인기와 함께 많은 사람들에게 인기를 얻고 있습니다. 한 번 써 보시면 정말 와~~ 하는 감탄사가 나올 만한 편집기입니다. 하지만 안타깝게도 아직은 한글(및 중국어, 일어 등) 지원이 좋지 않아서 로마자 기반으로만 사용하기 편리한 상황입니다. 아마도 2점대 버전이 나와야 이 문제가 해결되지 않을까 싶습니다. 텍스트메이트에 대한 자세한 내용은 위에 있는 텍스트메이트 링크를 참조하시거나 이 글 또는 이 글 등을 참조하세요.
텍스트메이트에는 프로젝트 형식으로 파일을 열 수 있게 해 주는 기능이 있는데요, 작업을 하다가 파인더에서 바로 특정 폴더를 프로젝트 형식으로 열려면 텍스트메이트를 실행시키고 폴더를 열어야 하는 불편함이 있습니다. 그런데 Henrik이라는 사람이 파인더에서 아이콘만 클릭하면 바로 지금 파인더에서 선택된 폴더를 텍스트메이트로 열 수 있게 해 주는 애플스크립트를 만들었습니다. 이 링크에서 스크립트를 다운받으실 수 있습니다. 파일을 다운받고 나서 적당한 위치(저는 응용 프로그램 밑에 Scripts라는 폴더를 만들고 거기에 집어넣었습니다.)에 집어넣은 다음 그 폴더를 열고 아이콘을 파인더의 툴바에 끌어다 놓으면 (끌어서 툴바 근처에서 이리저리 움직이면 화면이 살짝 바뀌면서 놓을 위치를 정할 수 있습니다) 끝.
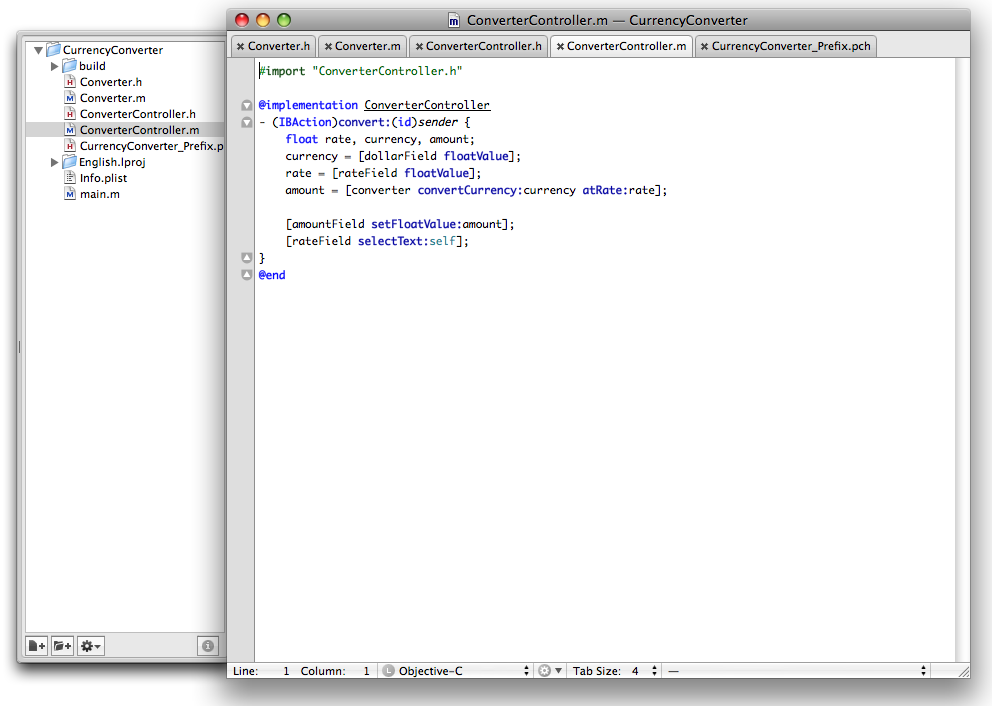
원하는 폴더를 선택하신 상태에서 그 아이콘을 클릭하기만 하면 텍스트메이트가 열리면서 그 폴더를 프로젝트 형태로 열어줍니다. 다음과 같은 식으로 말이죠...
텍스트메이트를 사용하시는 분이시라면 설치해 보시면 후회 없으실 거예요...
그럼 이만...
패키지를 열어서 main 스크립트 파일을 열고 on run으로 시작해서 end run으로 끝나는 부분을 다음 코드로 변경해주면 된다고 합니다.
on run tell application "Finder" if selection is {} then try set finderSelection to {folder of the front Finder window as alias} on error number -1700 -- 'as alias' coercion will fail if front window is 'Computer' -- or if no windows are open and nothing is selected on desktop beep return -- nothing to open, so stop here end try else -- various bugs in Finder and AppleScript relating to 'as alias list' -- coercion and/or using it on 'selection' property, so get a list of -- Finder references and coerce them one at a time in AppleScript set finderSelection to selection repeat with itemRef in finderSelection set itemRef's contents to itemRef as alias end repeat end if end tell tm(finderSelection) end run
윈도우즈라면 탐색기, 맥이라면 파인더, 리눅스 환경이라면 노틸러스 같은 애플리케이션을 사용하다 보면 현재 창이 열려져 있는 폴더에서 셸 명령어를 사용하고 싶은 경우가 종종 있습니다.
이럴 때 터미널을 열어서 cd 명령으로 일일이 그 디렉토리까지 이동하려면 꽤 번거롭습니다.
맥에서는 애플스크립트를 활용해서 파인더에서 바로 iTerm을 열면서 그 디렉토리로 이동하도록 할 수 있습니다.
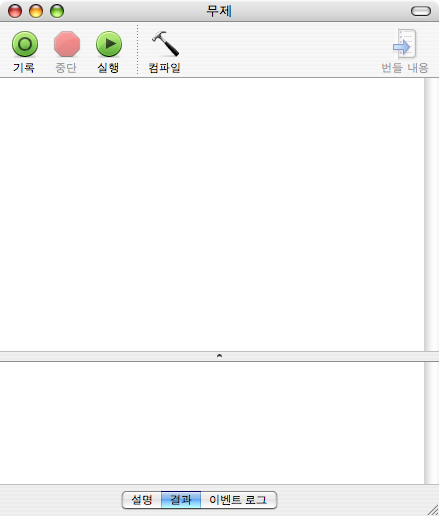
우선 응용 프로그램 폴더의 AppleScript 폴더 안에 들어있는 "스크립트 편집기"라는 애플리케이션을 실행시킵니다.
스크립트 편집기를 실행시킨 화면
그리고 다음 코드를 복사해서 붙여넣습니다.
-- cd to the current finder window folder in iTerm. Or drag a folder onto this script to cd to that folder in iTerm. -- found this script in the comments of this article: http://www.macosxhints.com/article.php?story=20050924210643297
-- Instructions for use: -- paste this script into Script Editor and save as an application to ~/Library/Scripts/Applications/Finder/cd to in iTerm -- run via the AppleScript Menu item (http://www.apple.com/applescript/scriptmenu/) -- Or better yet, Control-click and drag it to the top of a finder window so it appears in every finder window. -- Activate it by clicking on it or dragging a folder onto it.
-- Another nice touch is to give the saved script the same icon as iTerm. -- To do this, in the finder, Get info (Command-I) of both iTerm and this saved script. -- Click the iTerm icon (it will highlight blue) and copy it by pressing Comand-C. -- Click on this script's icon and paste by pressing Command-V.
-- Another way to give it the same icon as iTerm is to save the script as an application bundle (instead of an application), -- then copy the icon by entering these commands in iTerm: -- $ cd ~/Library/Scripts/Applications/Finder/cd\ to\ in\ iTerm.app/Contents/Resources/ -- $ rm droplet.icns -- $ cp /Applications/iTerm.app/Contents/Resources/iTerm.icns droplet.icns -- $ touch ~/Library/Scripts/Applications/Finder/cd\ to\ in\ iTerm.app
-- script was opened by click in toolbar on run tell application "Finder" try set currFolder to (folder of the front window as string) on error set currFolder to (path to desktop folder as string) end try end tell CD_to(currFolder, false) end run
-- script run by draging file/folder to icon on open (theList) set newWindow to false repeat with thePath in theList set thePath to thePath as string if not (thePath ends with ":") then set x to the offset of ":" in (the reverse of every character of thePath) as string set thePath to (characters 1 thru -(x) of thePath) as string end if CD_to(thePath, newWindow) set newWindow to true -- create window for any other files/folders end repeat return end open
-- cd to the desired directory in iterm on CD_to(theDir, newWindow) set theDir to quoted form of POSIX path of theDir as string tell application "iTerm" activate delay 1 -- talk to the first terminal tell the first terminal try -- launch a default shell in a new tab in the same terminal launch session "Default Session" on error display dialog "There was an error creating a new tab in iTerm." buttons {"OK"} end try tell the last session try -- cd to the finder window write text "cd " & theDir on error display dialog "There was an error cding to the finder window." buttons {"OK"} end try end tell end tell end tell end CD_to
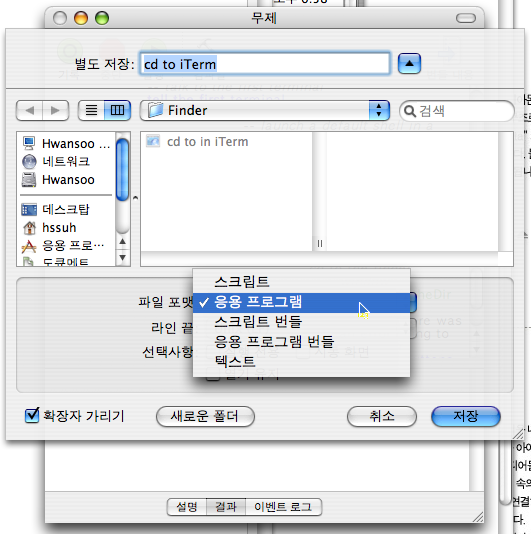
이제 이 스크립트를 저장해야 하는데요, ~/Library/Scripts/Applications/Finder 라는 디렉토리에 "cd to iTerm"이라는 이름으로 저장하면 됩니다. 저장 위치나 파일 이름은 사실 아무 데나 해도 되고요, 실수로 지우거나 하는 일만 없으면 됩니다. 그리고 한 가지 주의할 점은, 저장할 때 파일 포맷을 반드시 "응용 프로그램"으로 지정해 줘야 합니다.
저장할 때 파일 포맷은 "응용 프로그램"으로...
아이콘 모양을 애플스크립트 아이콘 모양이 아닌 iTerm 아이콘하고 같은 모양으로 만들고 싶으시다면 셸에서 다음과 같이 해 주시면 됩니다.
파인더에서 iTerm 애플리케이션을 선택하고 Cmd-i를 눌러서 정보 창을 연다.
파인더에서 방금 저장한 cd to in iTerm 애플리케이션을 선택하고 Cmd-i를 눌러서 정보 창을 연다.
iTerm 애플리케이션의 정보 창 왼쪽 위에 있는 iTerm 아이콘을 클릭(파란 테두리가 생김)한 후 Cmd-C 키를 눌러서 복사해 둔다.
cd to in iTerm 애플리케이션의 정보 창에서 애플스크립트 아이콘을 클릭(마찬가지로 파란 테두리가 생김)한 후 Cmd-V 키를 눌러서 아이콘을 붙여넣는다.
정보창을 둘 다 닫는다.
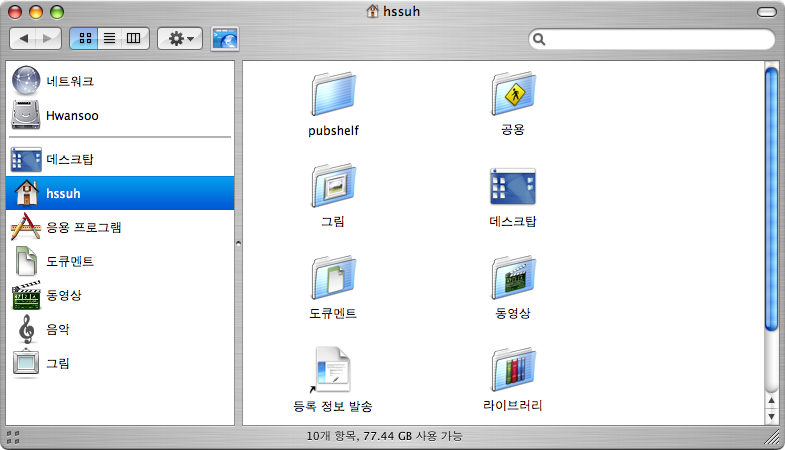
파인더를 열고 그 애플스크립트 파일이 저장된 폴더를 열고, 옵션키를 누른 상태로 파일을 클릭해서 파인더 창 위쪽에 있는 도구 막대쪽으로 끌어다 놓습니다. 그러면 모든 파인더 창에 그 애플리케이션이 추가됩니다.
파인더 창 도구 막대 맨 오른쪽에 있는 iTerm 아이콘이 새로 추가된 아이콘입니다.
사용법은 간단합니다. 원하는 폴더에서 아이콘을 클릭하면 iTerm이 실행되고, 바로 그 폴더로 이동합니다. 아니면 이동하고자 하는 폴더를 드래그해서 아이콘 위에 떨구면 바로 그 폴더로 이동할 수 있습니다. 이미 iTerm이 실행되어 있는 상태라면 새 탭이 만들어집니다.
직접 해 보시면 실행 속도가 조금은 느린 편인데요(애플스크립트가 원래 좀 느린 편입니다), 그래도 iTerm을 열고 해당 디렉토리로 cd 명령을 이용해서 옮겨가는 것보다는 편리하겠죠? 뭐 편리하지 않다면 그냥 지워버리시면 됩니다. ㅠㅠ